Organizing Contacts Using Tags
Tags allow you to organize your contacts into groups. This makes it easier to filter contacts and send targeted communications such as email campaigns, birthday emails, newsletters, or review requests.
IN THIS ARTICLE
- What Are Tags?
- Create a Tag
- How to Add Tags to a Contact
- Tag Multiple Contacts at Once
- Tag Contacts During an Import
- Tags from CRM Integrations
What Are Tags?
Tags are labels that you assign to contacts. They help you group contacts together so you can easily filter your list or send communications to specific audiences.
For example, you might create tags such as:
- Medicare
- Under 65
- Life Insurance
- Existing Client
- Prospect
Once contacts are tagged, you can quickly filter your contact list or send targeted communications to specific groups.
Create a Tag
Before you can assign a tag to contacts, the tag must first be created in the system.
To create a tag:
1. Log in to your dashboard
2. Click Contacts in the left-hand menu
3. Click the Tags option
4. Click Add Tag
5. Enter the name of your tag and click Save
You can create as many tags as you like, allowing you to organize contacts in whatever way works best for your business.
Once a tag is created, it will appear as an option when adding tags to contacts.

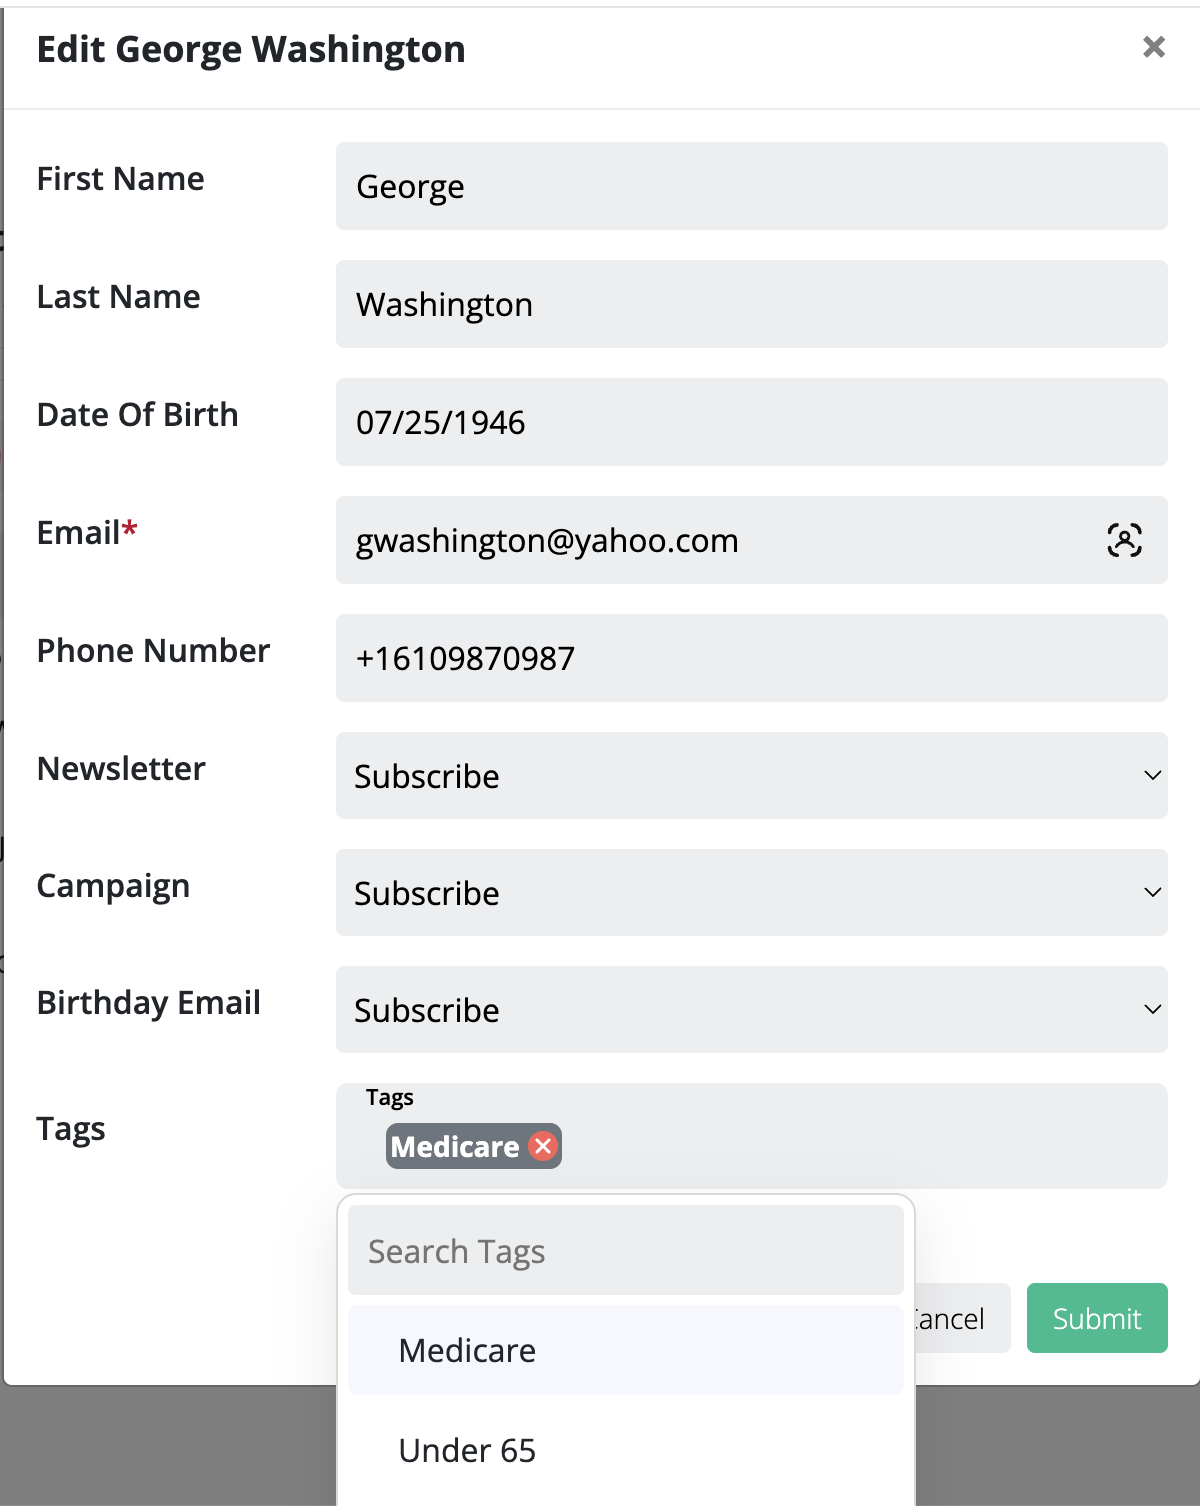
How to Add Tags to a Contact
To add a tag to an individual contact:
1. Click Contacts in the left-hand menu
2. Select the contact you want to edit and click the Edit Contact button
3. Add or select a tag in the Tags field
4. Click Submit
You can assign multiple tags to a single contact if needed.
Tag Multiple Contacts at Once
You can also apply tags to multiple contacts at the same time.
To do this:
1. Go to Contacts
2. Select the contacts you want to update
3. Choose the Tag option
4. Choose the tag you want to apply
This allows you to quickly organize large groups of contacts without editing each contact individually.

Tag Contacts During an Import
Another way to apply tags to multiple contacts is during a contact import.
When importing contacts, you can assign a tag to the entire list. This is a quick way to tag large groups of contacts at once.
Tip
If a contact already exists in your contact list, importing them again will not create a duplicate. Instead, the system will merge the contact and apply the new tag.
This allows you to import a list of contacts and apply a new tag to them, even if they are already in your contact list.

Tags from CRM Integrations
If you connect a CRM to your account, contacts imported from your CRM may already include tags.
Each CRM handles tagging differently, so the tags that appear in your contact list will depend on how contacts are labeled inside your CRM.
For example, tags may come from:
- CRM contact tags
- contact groups
- lead categories
If you are unsure how your CRM assigns tags, refer to the specific CRM integration guide or contact our support team for assistance.
Still have questions? Our support team is happy to help 🙂